

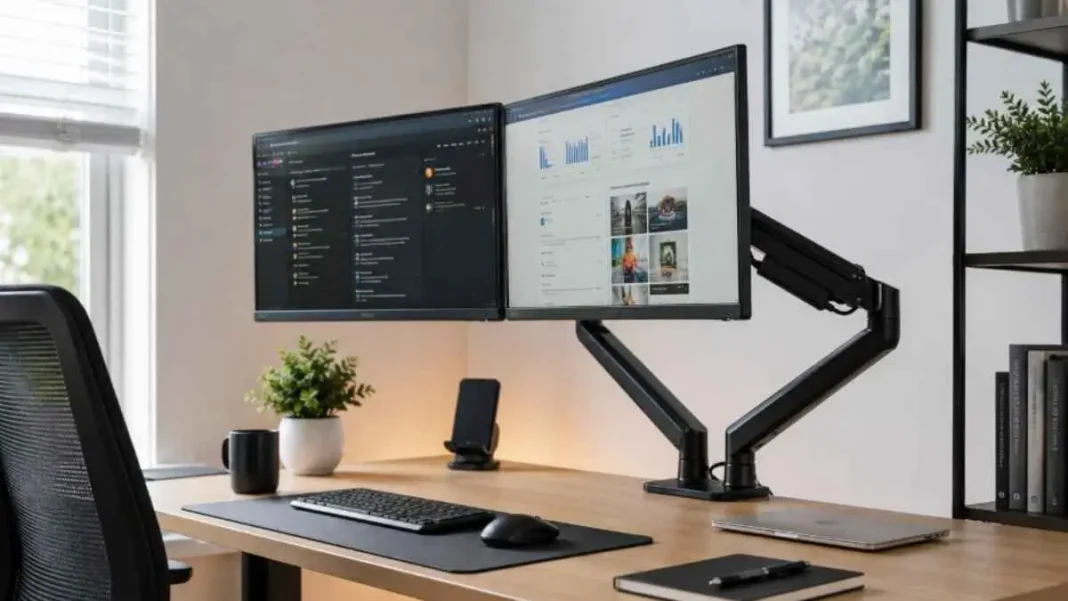


Selecting the ideal monitor mount for your desk can Quite a bit improve the look and feel of your workplace by firstly taking the stand away – saving valuable desk space secondly it can help align the monitor in such a way to reduce strain and discomfort from sitting and reading (ergonomics improvements). It also gives you complete, accurate, and precise manipulation of the location of the screen, which is an important feature for productivity. The key is to first get to know how yours looks and works, rather than picking up the first thing available, regardless popular or low-price.
To start, ensure your monitor is VESA compatible, most displays these days feature a set of mounting holes at the back standardized (four holes). It could well be 75×75 mm or 100×100 mm but some bigger or bulkier screens could go for a 200×100 mm or 200×200 mm layout. These holes give room to mount plate to be joined to the display with properly sized screws. Refer to the product description details, the label on the rear face of the monitor, or the official website to know for sure how big the VESA pattern on your display and its weight (without stand). In case your monitor does not have VESA holes, it might be an ultra-thin or budget model, you may still get adapter plates for a workaround, Even so, they have the disadvantage that they increase the bulk and must still be able to carry a full load safely.
Then, the right one will have the mount weight capacity matched to the display. As a general rule, it’s better to check the monitor weight without its original stand and go for a mount that can hold about 20-30% more weight just to be on the safe side. The arms either by gas-spring or counterbalanced usually indicate a weight range, for instance, minimum and maximum. If the one is too light, the arm will start to fly up, and a heavy one will make it sag. If you have a screen curved or an ultrawide one, these kinds of screens will exert more of forward pulling effect on the mount. In such cases, it is better to include an extra buffer. Screen size is also a factor: most regular mounts have a limit of 27 or 32 inches, but larger ones will require a heavy-duty model to support a larger mass and leverage of course.
Figure out how many monitors you would have and where these would hang on the desk. Individual single-arm mounts usually work fine while dual, triple or quadruple types help to maintain several screens in one row without clutter by the numerous bases on the desk. You should also think about if you want each monitor individually moving or rather to keep them in a fixed configuration. With multiple joints arm that allow height distance tilt, swivel, and portrait rotating movement Articulated mounts will be best to give you more flexibility, while pole-style or fixed ones are cheaper, more stable solutions, suitable for cases where the screen doesn’t get moved much.
How to Monitor Mount The method of fixing your Monitor Arm is a decision that should take into account the surface of your desk. Clamps that are attached to the table edge are probably the simplest type and are a good choice for various solid surfaces as long the thickness is not beyond three inches. Grommet mounts go through a small hole in the desk which gives good stability Mainly with higher weight loads. Freestanding bases are just like stands on which you put your items and are suitable when working with glass desks or situations where you cannot use clamps Wall mounts give you a clean work area but it is a more involved and permanent installation that takes a strong surface. It is also a good idea to measure your desk, the available clearance, and depth to decide how the arm should be placed so that the screen is at a viewing distance – about the size of an arm’s reach – with the top of the display at, or slightly below, the level of your eyes.
Degree of Motion Achieve good height range by choosing a monitor that allows for a height adjustment that smoothly follows your movements from a sitting position to standing one. Tilt the screen to minimize reflections and eye fatigue. With swivel and extension functions, you can share, the display or simply move it out of your way. Cable management system is built in the arm and keeps your power and AV cables in place even though you are moving the screen. The quality of the arm material is also a factor to take into account: aluminum or steel construction is generally considered to result in a more robust structure and a sleeker appearance than a plastics design with a very large footprint. Well-established monitor manufacturers not only deliver good quality products but also provide their customers with long-term warranty periods and spring tension stability. Budge Vs Requirements
Finally, it is a good idea to see how your budget and your long-term needs compare with all of these technical requirements. Even a basic clamped single-arm can be purchased for less than $50 and will still give you an ergonomic improvement of your working position Whereas high-end multi-monitor set ups with gas springs that have been polished, finished and polished to perfection, require a higher investment but also deliver a higher lifespan and more accurate adjustments to you. Once you have checked VESA compatibility, the weight capacity, number of screens, mounting method and desired adjustments, the perfect monitor stand will be a simple decision that will improve the ergonomics of your body and productivity for the years to come.